In anticipation school starting, I spent the morning making Marble Magnets to spread a little school spirit. I thought new teachers might like to have something with the school logo on it and the "new to me" students could use the magnets in their lockers. These are super inexpensive and quick! It took me less than an hour and I have enough tiny gifts to share with all of my new friends.
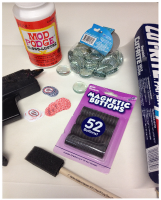
Materials I used:
Materials I used:
- Clipart w/school logo
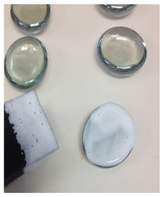
- Large, flat glass marbles - pack of 30/$1.00 @ Dollar Tree
- Round magnets - pack of 52/$5.97 @ Walmart
- Mod Podge
- Sponge brush
- Hot glue gun
- Wax paper to protect the table

One page makes tons!
How I did it:
I created polka dot circles in Microsoft Publisher to use as a background for the school logo. (If you are polka dot fan like me, download the Publisher files for the dotted backgrounds in black, gray, green, navy, orange, pink, purple, red, royal blue, and yellow.) The school logo was captured via a screenshot from the school's website. I pasted the image onto each of the dotted circles. ( I used Promethean's ActivInspire software to capture the image, but you could use Jing or another favorite tool to take the picture.) I printed the Publisher file onto white cardstock using my home printer.
I placed a marble over the clipart on the printed page to make sure I had my spacing and image size correct. I had to adjust the page a few times to get it just right. The marbles are smaller than they look, so check to make sure it is correct before you spend the time cutting. The clipart was cut so that it was smaller than the marbles.
Thin layer of Mod Podge
I used a sponge brush to apply a small amount of Mod Podge to the flat side of the marbles.
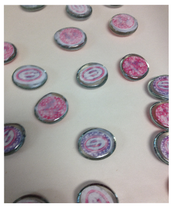
I placed the cut images in the center of the marbles and then, dabbed Mod Podge around the edges and over the top of the clipart. Don't worry, the Mod Podge dries clear.)
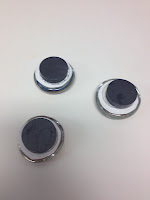
After the Mod Podge dried, I used hot glue to adhere a magnet to the flat side of each marble.
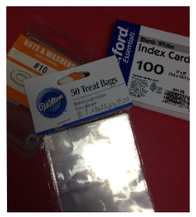
Now, the packaging makes the project and the idea came straight from Madigan Made. Her idea transformed the marbles into a brightly colored packages sure to delight! I started out with a package of metal washers from the hardware store, a package of blank index cards, a pack of Wilton treat bags (50/$2.50 @ Walmart by cake decorating supplies).
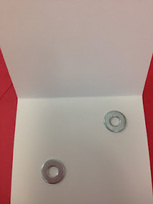
I folded the index cards in half and used hot glue to adhere two washers to the inside of the folded card.
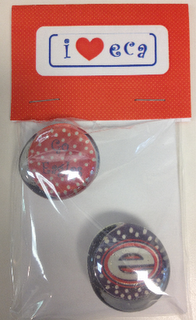
I re-folded the card in half and my magnets stuck right to the hidden washers. I placed all inside the treat bags, folded and stapled a decorative piece of card stock (also made with Publisher) across the top of the bag, and I'm thrilled with the finished result!
As always, take it and make it your own. Then, send the pics to share with everyone else:) Cindy

 RSS Feed